26. April 2020
How to make a bagel
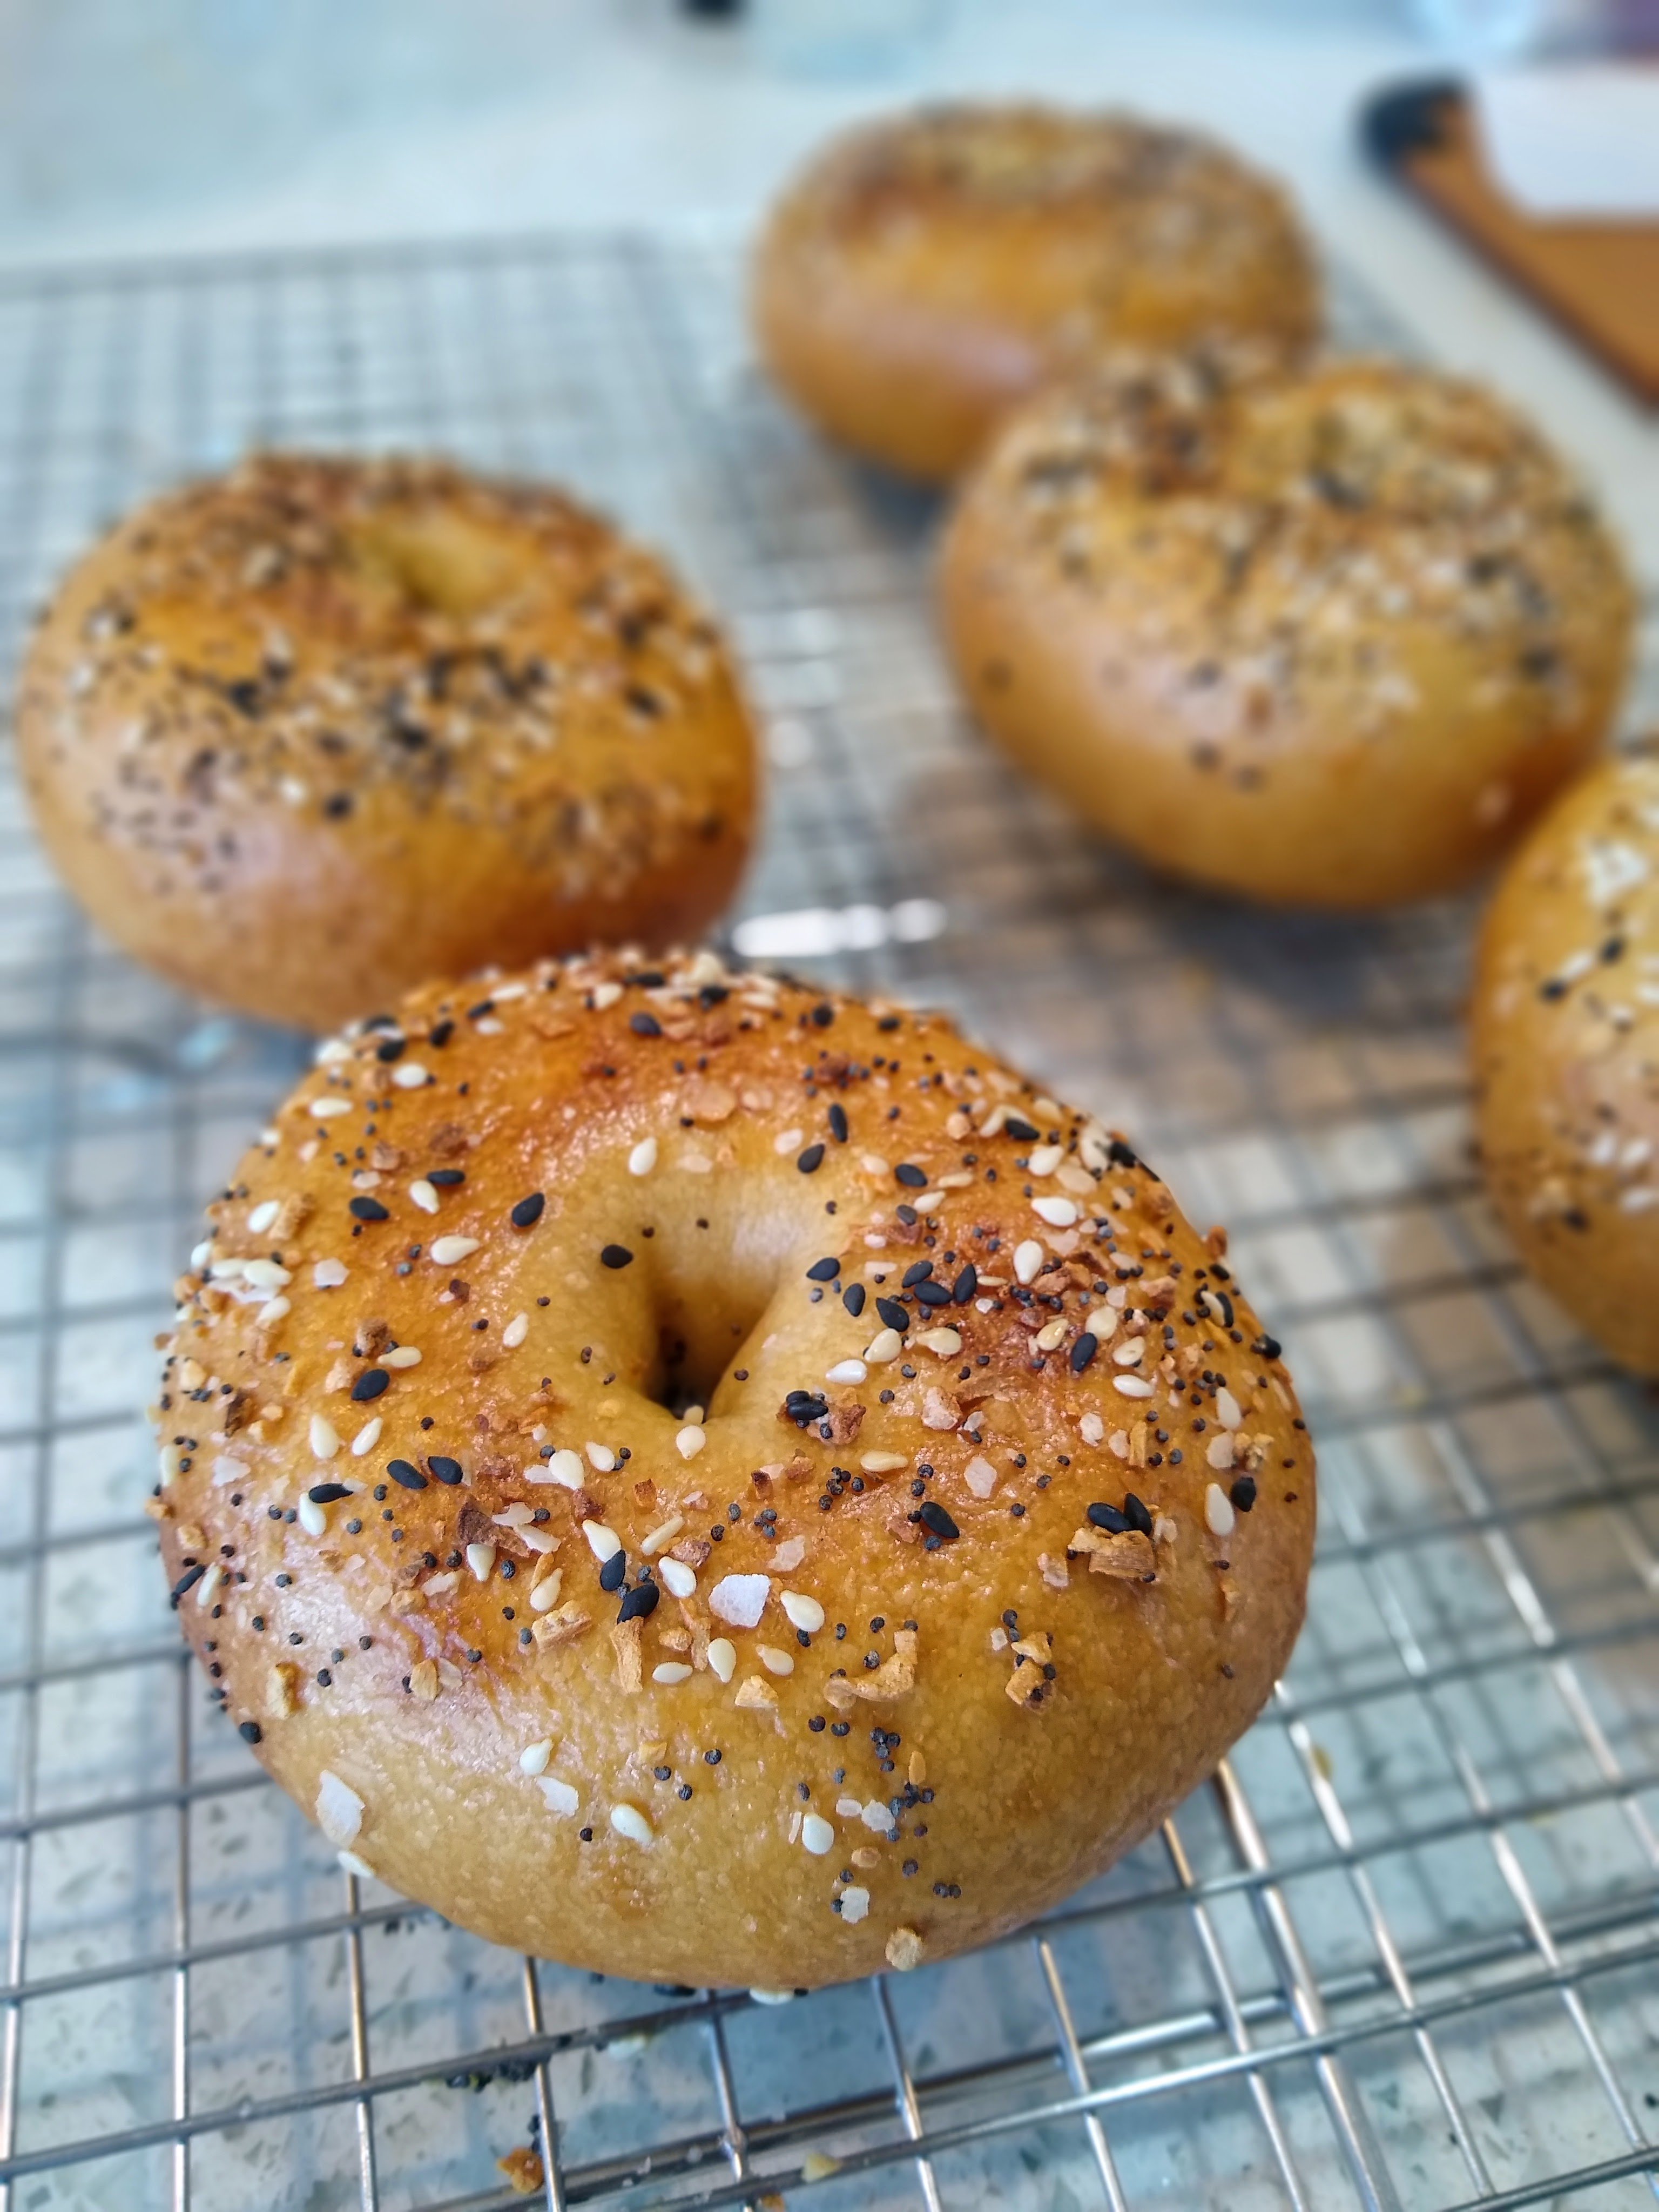
Bagels
These bagels are exceptionally delicious and come together without tons of work. If I knew about this bagel recipe, I might never have left the Bay Area. Some feedback from this bagel recipe:
“These bagels are fantastic” – Nora
“These are insanely good” – Patrick
“Damn these are good. Dude seriously so. Good. Thanks.” – AJ
“I can’t tell you how happy we both are for this recipe” – AJ’s mom
“They were amazing! Done searching, will use this recipe forever.” – Clara
Yield: Approx Baker’s dozen depending on size. Feel free to halve everything if you’re living in a apocalyptic quarantine without an office of people to share with. But they will also freeze well.
Time: 1.5h -> Overnight -> 2h in the morning.
Dough
- 34g (4 tablespoons) vital wheat gluten
- 874g bread flour
- 2 teaspoons instant yeast
- 21g salt
- 510g water @ 80f
- 42g barley malt syrup
Bath
- 2 tablespoons baking power
- 2 tablespoons barley malt syrup
- 4 quarts water
Make the dough
- Combine vital wheat gluten and flour in the bowl of a stand mixer. If you like your bagels extra chewy, you can experiment with even more vital wheat gluten. If you like your bagels less chewy (or don’t want to go to the trouble of getting some) you can use less, but make sure you end up with a total flour weight of 908g.
Vital wheat gluten is easy to find at whole foods — the goal here is to match the protein content of high gluten flour used in professional bakeries (>14%). Vital wheat gluten is 75-80% protein by mass. In this recipe targeting a total flour weight of 908g, 32g of vital wheat gluten combined with 874g of bread flour @ 12.7% protein yields a total of about 15% protein and yields a (to me) perfectly chewy bagel.
- Separately, add the barley malt syrup to a 4-cup measuring cup.
This stuff is a pain to work with, and the quantity is fairly important — overdo it, and your bagels will get a very dark interior. Not enough, and you’ll miss the perfect, quintessential bagel bitterness. For this reason, I like to measure it out first to ensure I don’t accidentally dump in more than I want.
-
Add the water and yeast to the barley malt syrup. Add the salt and whisk vigorously until well combined.
-
Pour the liquid into the flour while running the stand mixer with a dough hook on the lowest setting until well combined and a cohesive dough has formed, about 3 minutes. Let the dough rest for 5 minutes. Knead again on the lowest setting for 3 more minutes.
With the addition of vital wheat gluten, these actually don’t need tons of kneading, and you don’t want to overdo it. If you don’t have a stand mixer, they can be fully kneaded by hand with good technique in about 10-12 minutes. However, without vital wheat gluten, you’ll need more kneading. Make sure it easily passes the window pane test before proceeding.
-
At this point, you should have a dough that is slightly tacky, but very easy to work with. It shouldn’t be sticking to your hands or the counter — if it is, add a small amount of additional flour. If it isn’t coming together, add a small amount of additional water.
-
Turn the dough out onto an unfloured work surface and knead by hand for another 2-4 minutes, until the dough is smooth with great elasticity and passes the windowpane test. If the dough feels like it needs more flour during kneading, the bagels will easily overproof. Consider reducing the proofing time & temp.
-
Shape into a smooth ball and prove for 1h @ 74f. You want to be careful about overproofing these. They do not need to double in size.
Shape the bagels
Press down on dough to deflate and turn it out onto the counter. Divide the dough into 3.5oz pieces (small bagels) or 4.5oz pieces (big NY-style bagels). We’ll start the shaping process by shaping each dough piece as if it were a dinner roll:
- Stretch the dough over your thumbs to develop a smooth top surface without tears. You may need to repeat the process a second time if you’ve combined smaller pieces into the main bagel.
- Remove your thumbs and pinch the bottom together tightly.
- On an unfloured counter, place your cupped hand over the dough and drag it in a circle. The dough should move in the opposite direction as your hand - if your brain keeps trying to switch the direction, you’re doing it right.
- Pinch any open seams
Once shaped, leave the dinner-roll-esque pieces on the counter, lightly covered, to rest for 5-10 minutes.
Prepare 2 baking sheets with parchment paper or silicone & spray with oil.
Finally, shape each bagel. Press your thumb into the center of each roll until you punch through. Stretch around your thumb and eventually multiple fingers. For a NY style bagel with a small hole, aim for a 2-3 inch hole. To ensure you get a wide delineated hole after baking, aim for 3-4 inches. Transfer completed bagels to baking sheets. Cover with lightly greased plastic to allow for slight rise, while also ensuring that there is a reasonable airtight seal so they don’t dry out overnight. If you happen to have extra-large plastic bags to go around bannetons, those work well here.
Refrigerate overnight 8-36h.
If the refrigeration time is longer than 8 hours, you’ll want to be sure your fridge is <37f or the bagels are likely to overproof. If you pull the bagels out of the fridge and see copious exterior bubbles, you’ve likely overproofed. They will still be delicious, but will probably deflate during baking.
The next day…
If you pull the bagels out of the fridge and see bubbles where the bagels are touching the plastic wrap, the bagels are probably overproofed. They will still be delicious, but you’ll need to be extremely gentle for the following steps to avoid deflating them.
Preheat the oven to 450f with a rack in the upper third.
Prepare the bath: Combine all the ingredients and bring to a rolling boil in a large pot or dutch oven. You want this at an actual boil. Ensure the liquid is at least 4 inches deep or the bagels might stick to the bottom.
Boil the bagels: Boil bagels in batches, starting upside down, 20s per side. Flip with a slotted spoon or frying spider. Place onto a wire rack with paper towel underneath.
The egg wash isn’t crucial, but it really helps the bagels cross the line from bread into bagel and it gives them a perfect sheen and helps the topping adhere.
Egg wash the bagels: Combine 1 egg and 1tbsp of water and whisk. Brush bagels with egg wash, both sides, then immediately sprinkle toppings on if desired.
Bake on a silpain or parchment paper for 10-12 minutes, until tops are just starting to take on color and have a touch of rigidity. Flip bagels and bake for 5-10 more minutes until bagels have a perfect light golden brown.
Let cool on a wire rack 15-20 minutes before devouring.